I am often asked by clients or friends for little tips and techniques on taking better photographs. Of course there are a lot of great places and sites out there to learn from – one of my favorite is www.betterphoto.com. And it really helps to have a great camera too… but a great camera does not always a great picture make. And while having a dSLR that affords you more control over your settings and a quicker response time to boot, many of these tips will help you take better pictures with any camera. These tips are from a photography class that I used to teach to new learners – so it may not be as helpful to more experienced photographers. If any of these tips helps even one of my readers, I will be glad!
Know Your Subject
Probably the most important thing you can do to improve your photography is to know what your subject should be and to make it obvious (everyone who looks at the photograph should know what the subject is as well). For example, don’t have too many competing interests going on in one photograph, causing your eye to wander and jump all over the image.
The subject can be a person, people, an animal, a plant, a building, a color, or even a mood.
Unless you are quickly trying to document some action, before you start taking pictures, ask yourself, “What is it that I want to capture here?” and pre-visualize what you want the end result to be. In other words, think before you start shooting!
Many of our other tips will help make your subject stand out better.
 I am not sure what the subject of this picture is supposed to be, are you?
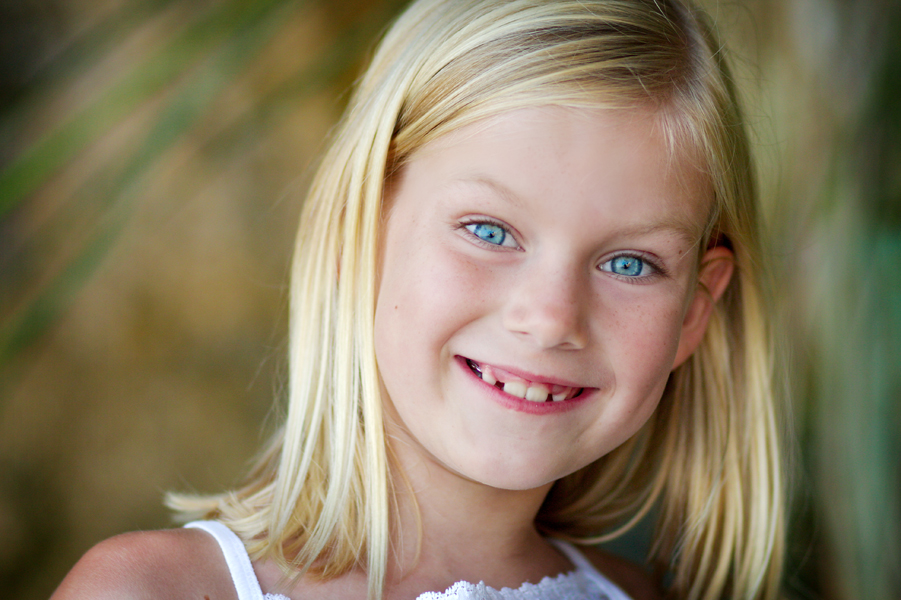 Here, I have isolated the subject by moving in closer and blurring the background.
Be Quick
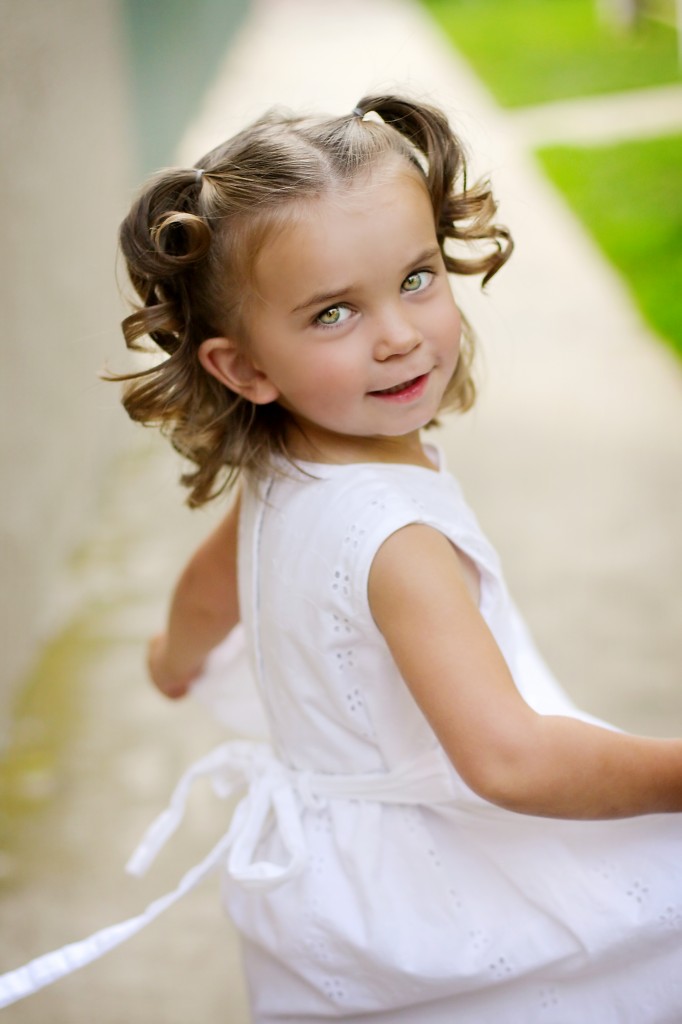
This may seem like a direct contradiction to tip #1, but sometimes it is necessary to “Shoot First, Ask Questions Later.” If there is any chance that your subject may run away, fly away, stop smiling or get tired of waiting for you to take the shot, just shoot a couple of shots right away. Then if you get a chance, you can adjust your settings, & work on your composition, etc.
But you may not always get that chance, and I have gotten some of my favorite shots because I was quick at the draw and ready to shoot.
As you practice this you will get better and better!
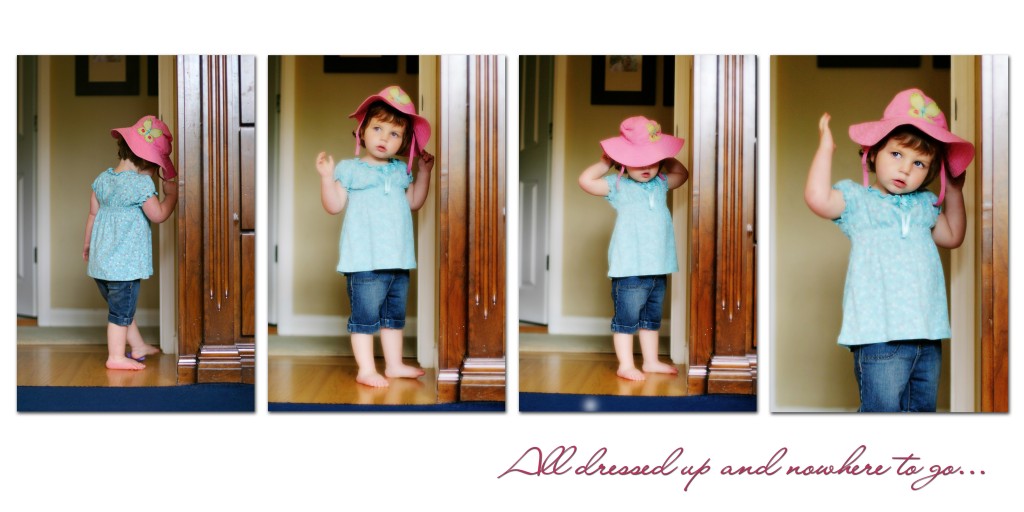
If I had waited to get my settings and lighting perfect, I would never have captured this spontaneous image of Audrey, taken on the way to our car before the actual photo shoot began.
Move In Closer
When your subjects are the size of ants roaming on a huge background, it is hard to know what the subject really is—unless the background is the subject. Moving in closer can isolate your subject and keep the viewers eye focused on just that!
One way to practice doing this is to first take the picture as you normally would, then move in closer for a tighter shot. Then, move in closer still (or zoom in)to capture a detail such as just the eyes, or the inner part of a wagon wheel, or the very center parts of a flower.
Just take care to avoid getting so close you camera or lens can’t focus on the subject! Macro lenses and settings are great for really close up shots.
When taking a 2nd or 3rd shot of a subject, don’t worry about cutting off the tops of heads or fitting the whole subject in the frame—sometimes details make more interesting pictures!
Audrey’s face fills the frame of this picture, leaving no doubt who or what the subject is.
Use depth of field to your advantage
Practice shooting with different apertures and see how the results affect your photos. Using a smaller aperture (f-stop) will result in a smaller depth of field—lending you a sharp subject with the background, the foreground and everything else blurring nicely out of focus. This can really help to put the focus on your subject and isolate a cluttered background as well.
Likewise using a larger aperture (bigger f-stop 3) will give you a greater depth of field necessary to hold everyone in a group in focus or make for a stunning landscape shot.
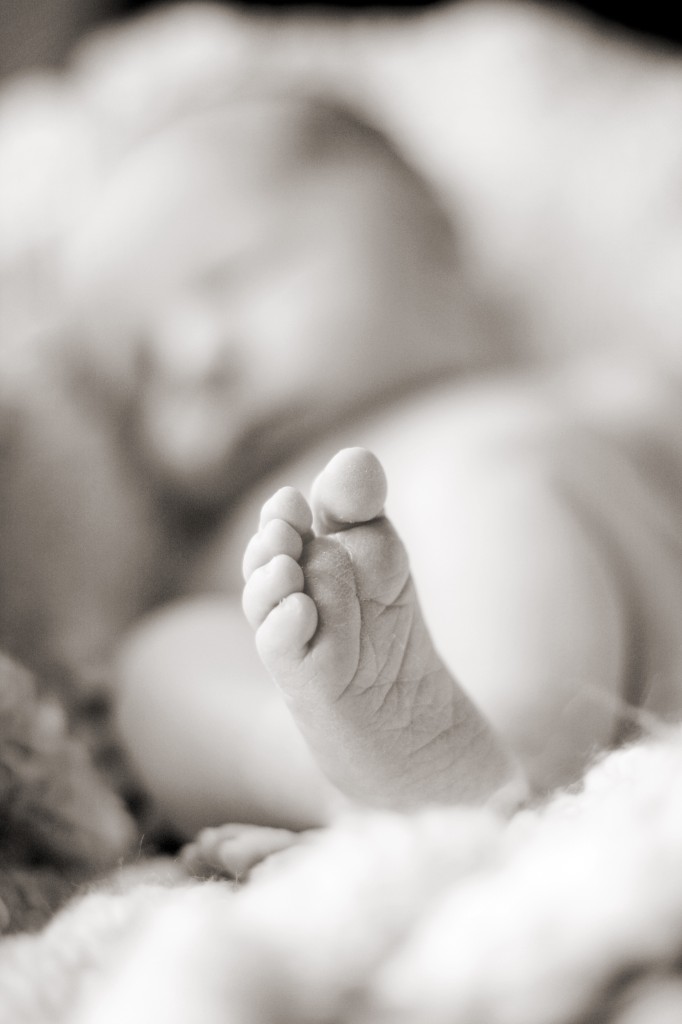
Babies toes are the subject of this photo, and while the rest of the baby is visible, the foot is the only part in focus,achieved by shooting wide open (with a very large aperture, or small f/stop).
Look at the Light
Practice studying the light you are working with and learn how to use it to your advantage.
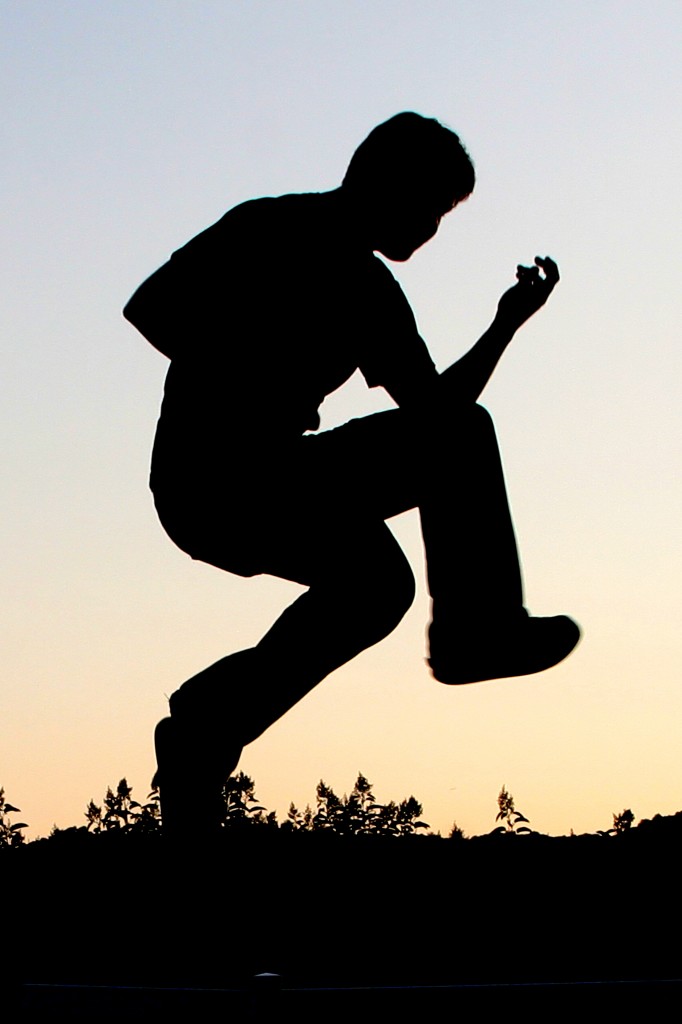
For example, to create a dramatic silhouette, place your subject in front of a striking colorful sunset and your camera will likely meter for the bright sunlight tones and render your subject completely dark. You wouldn’t want to do this though if you wanted to see detail in your subject! Generally even lighting provided by directional shade (under an overhang outside) will be most flattering for portraits. Window lighting can be nice as well. Generally on-camera flash is harsh and flattens your subject—avoid this if you can!
Silhouette created by strong backlight.
 Shade from a tree or building overhang can create beautiful, soft, even lighting even during the middle of the day.
Get a Unique Perspective
To take your photos from ordinary to extraordinary, try seeing the subject from a different perspective or shoot from a different angle.
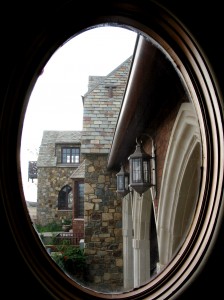
After shooting the front of a great architectural building like everyone else, try shooting from the base looking up, or shoot the rotunda or ceiling. Then try shooting from the top of the building or shoot through a window looking at the building sideways. Or from the top of a spiral staircase looking down. Look for elements of design within the frame.
Or try shooting your next portrait from on top of a stool or stairway looking down. Or put your kid up in a tree and shoot looking up. Or instead of always having your subject look at the camera and smile, capture them from behind (walking away) or some other unique angle.
Take your camera off of Automatic!
Avoid Shooting on Full Auto Mode
Don’t shoot on Auto. This is an ‘idiot-proof’ shooting mode. None of you are idiots!
First, switch to the ‘P’ or Program Auto setting. This is also an automatic shooting mode, BUT in this mode you can override its behavior in order to make the resulting pictures look even better (ie. lighter, darker, more contrasty, etc).
If you want to control your depth of field, shoot on aperture priority (or AV mode) and if you want to control your shutter speed (ex. Faster to capture action and slower to get that flowy waterfall look) shoot on shutter speed priority (or tV mode).
Tell a Story
If you think about the pictures you enjoy looking at most, you will often find that is because they tell some sort of story.
Of course, this is easier to do when taking pictures documentary style, such as at a wedding or birthday party. The course of events will naturally tell a story.
But each image can have a story to tell. Of course sometimes you just want to capture a likeness, but if you watch carefully, you will notice and capture the moment when your 2 year old blows her first dandelion in wonder or the groom tenderly kisses the bride on the forehead when he thinks no one is watching. And don’t be afraid of staging!
Storytelling images can depict action, convey relationships, or just make you wonder about the subject.
Compose Artfully
Composition can make the difference between an average shot and one that is truly interesting to look at. Making an effort to keep the elements balanced, or finding lines that lead the eye around the picture or to your subject are some ways to make an interesting composition. You can also try keeping the horizon level, play with perspective and work with the rule of thirds. Don’t always place your subject smack dab in the middle of the frame—off to one side or corner is often more eye-catching. Also, think of ways to use negative space. Rules of graphic design apply here—think of repeating patterns, contrasts, etc.
Avoid Distractions
Discern what you want your subject to be, and shoot so as to avoid distracting from that. Clutter in the background is one of the main offenders that can ruin an otherwise good shot. Angle yourself so that your son with his new birthday gift doesn’t have a lot of competing wrapping paper, other toys, etc. in the background. And take care that no trees or telephone poles are growing out of your best friend’s head at her anniversary party.
When you see distracting elements there are a few things you can do:
-Recompose by moving higher, lower or from a different angle yourself
-Move your subject (if you can)
-Blur the background out of focus with a wide aperture or pan a moving subject.
Practice, Practice, Practice
Nothing beats out lots of practice when it comes to perfecting your craft. Take your camera with you to more places and activities. Practice seeing the light when you don’t have your camera with you. Practice seeing ordinary subjects in a different way.
Play with the different settings on your camera and use the LCD, your computer or prints to see the different results you get from different settings. Try taking a picture of the same subject with different shooting modes or camera settings. Sometimes you can stumble upon surprising results when experimenting. For example, I once tried out shooting a sunset using a white balance set for Tungsten and Fluorescent lighting and was amazed at the beautiful colors and hues that resulted.
Try different kinds of lighting and see what you like best—buy a bunch of flowers or bribe your kids and practice shooting them in the sun, in the shade, using window light, available room light, flash, etc.
Once you get to know your camera well and have a feel for what different settings will do, you can focus on being more artistic in your captures.







Leave a reply